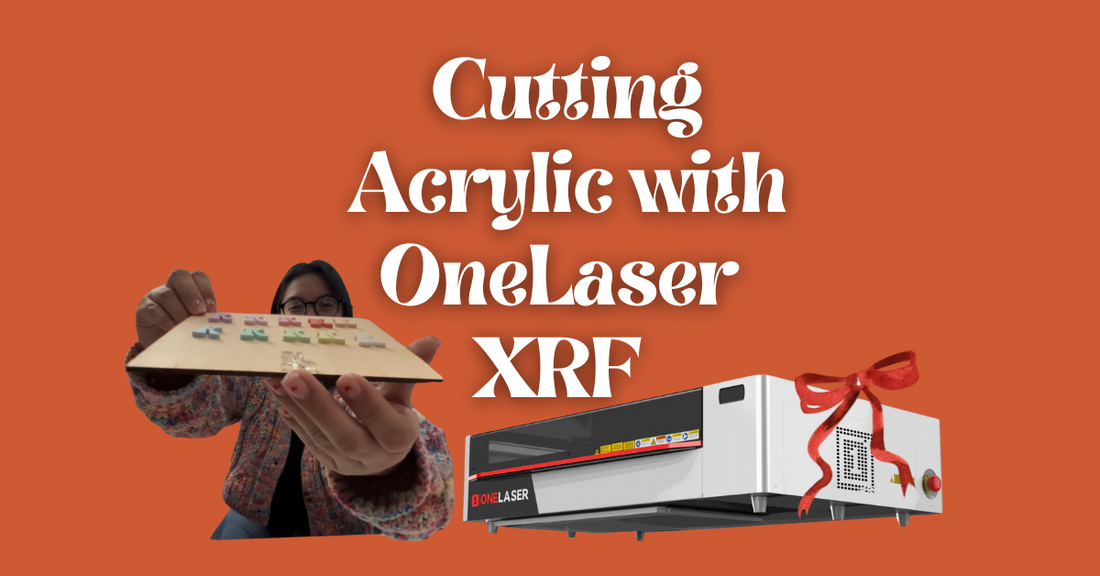
I am SO excited to share my very first experience cutting acrylic with the One Laser XRF! As someone new to laser cutting, I was definitely nervous about getting started, but the process turned out to be much easier than I expected. If you're a beginner like me, I hope this post will give you the comfort you need to start your own laser crafting journey!
Why I Chose the One Laser XRF for Acrylic Cutting
The main reason I wanted a laser was to cut acrylic for custom projects LOL kidding But I have dreamed of adding personalized acrylic pieces to my shop for soooo long! and I know this machine is going to completely change my shop's trajectory! From custom name toppers to keychains, the possibilities are literally endless!
What I love most is that One Laser is focused on providing affordable laser options with American-based tech support. They’re located right here in Orange County, California, which means you get quick, reliable help if you ever need it. And trust me, when you’re working with a new machine, having responsive customer support makes all the difference!
 Pastel Acrylic for the Cutest Projects! ✨
When I was picking out acrylic for the very first time, I couldn’t resist getting the Matte Pastel Bundle from Houston Acrylic! If you know me, you know I loveeeee pastels and all things cute, so this bundle was a perfect choice. The soft, dreamy colors are great for making aesthetic keychains, name tags, cake toppers, and so much more. Plus, the matte finish gives each piece a smooth, high-end look.
My Acrylic Cutting Experience
Cutting acrylic was a two-day process for me since I was working while Monse was napping. On the first day, I followed the suggested settings from One Laser:
-
Speed: 15
-
Force: 90
-
Passes: 1
The cuts were clean and precise, but I wanted to experiment to see if I could get even better results. On the second day, I increased the force to 100, keeping the speed at 15. Both settings produced smooth, clean cuts!
The only color that gave me some trouble was the Baby Yellow acrylic (No idea why lol) For that one, I used Speed 15, Force 80, and ran it through 2 passes and it cut perfectly!

Step-by-Step Tutorial: How to Cut Acrylic with the One Laser XRF
Step 1: Secure your acrylic sheet on the laser bed.
Step 2: Press the Origin button to set the starting point.
Step 3: Use the Auto Focus function to ensure the laser is correctly aligned.
Step 4: Press Trace to preview your cut and make sure your design fits perfectly.
Step 5: Adjust the settings based on the material you're cutting (see the chart below).
Step 6: Start your cut and watch the magic happen!

Acrylic Colors and Cutting Settings
Here’s a breakdown of the exact settings I used for each acrylic color:
| Acrylic Color | Speed | Force | Passes |
|---|---|---|---|
| Pastel Cornflower Blue | 15 | 90 | 1 |
| Pastel Blush Pink | 15 | 90 | 1 |
| Watermelon Pink | 15 | 90 | 1 |
| Spearmint Green | 15 | 90 | 1 |
| Clear | 15 | 100 | 1 |
| Peach Cast | 15 | 100 | 1 |
| Dusty Rose | 15 | 100 | 1 |
| Baby Yellow | 15 | 90 | 2 |
| Pistachio Rose | 15 | 100 | 1 |
| Pastel Purple Cast | 15 | 100 | 1 |
Why I Recommend the One Laser XRF
The One Laser XRF is perfect for beginners because of its user-friendly features and affordable pricing. Plus, they offer American-based tech support and are opening a showroom in Orange County in early 2025, so you can see the machine in person!
If you're thinking about getting the One Laser XRF, use my link to purchase and you'll get a FREE class with me where I share everything I’ve learned, including tips, tricks, and my favorite suppliers for wood and acrylic!

Learn Even More with My YouTube Tutorials!
I’ve also posted a full YouTube tutorial showing exactly how I cut acrylic with the One Laser XRF. And I’m just getting started! I’ll be sharing more laser crafting tutorials to help you get comfortable and creative with your machine.
Subscribe to my channel for more laser crafting tutorials!


